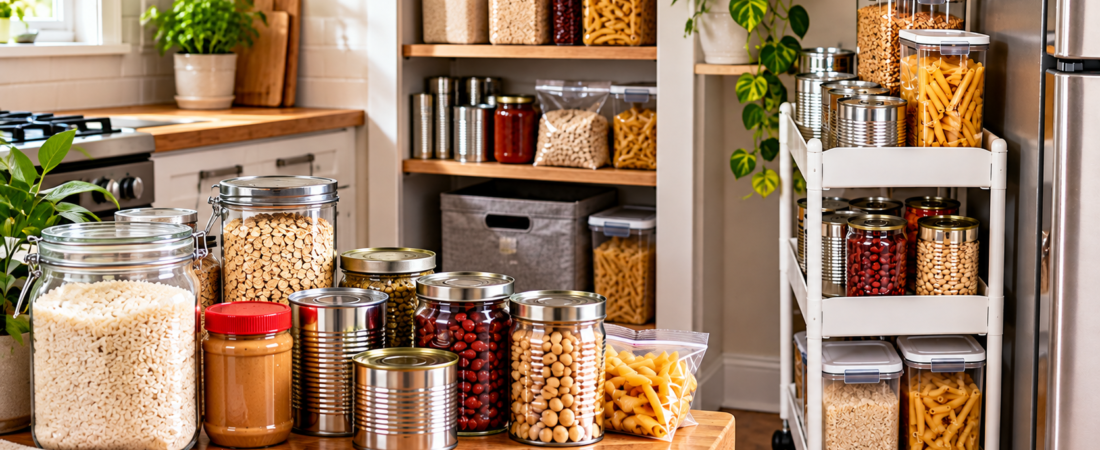
To build an emergency food supply, you don’t need a basement, garage, or giant walk-in pantry.
If you live in an apartment, townhouse, small home, or simply have a crowded kitchen, limited space can make food storage seem impossible. But the answer isn’t necessarily finding more room. It’s choosing foods carefully, eliminating wasted space, and creating a system that works with the storage you already have.
Affiliate Disclosure: This post may contain affiliate links. I may earn a commission at no extra cost to you.
FREE 25 Foods Emergency Pantry Checklist
Building an emergency pantry is easier with a shopping list to follow.
Download this free printable checklist to take with you while shopping or use it to organize your pantry.
✔ 25 shelf-stable foods
✔ Printable PDF
✔ Free to download
👉 Download the FREE Emergency Pantry Checklist (PDF)
A small, well-planned emergency food supply can provide valuable backup without taking over your home.
Here’s how to build one.
Start With the Space You Already Have

Before buying anything, take a quick inventory of the storage space that’s available.
Look at:
- Kitchen cabinets
- Pantry shelves
- Closet shelves
- Under-bed storage
- Utility-room shelves
- Unused corners
- The space above or beneath existing shelves
Don’t immediately designate an entire area for emergency food. First, see whether some of your existing storage can be reorganized.
You may discover that removing duplicate items, unused kitchen equipment, or rarely used supplies creates enough room to get started.
Think in terms of small storage zones rather than one large stockpile.
One cabinet might hold canned foods, a shelf might hold dry goods, and a small bin could contain emergency cooking supplies.
Choose Foods That Earn Their Space
When storage space is limited, shelf life isn’t the only consideration.
You also want foods that are versatile, reasonably compact, easy to rotate, and useful in multiple meals.
Good choices can include:
Rice
Rice is versatile and can serve as the base for numerous meals. It also stores efficiently when properly packaged and kept in appropriate conditions.
Pasta
Pasta is compact and can be combined with canned vegetables, beans, sauces, and shelf-stable proteins.
Beans
Canned beans are convenient and ready to use, while dry beans generally provide more food for the space they occupy. The tradeoff is that dry beans require water and cooking.
Oats
Oats provide an easy breakfast option and can be combined with shelf-stable milk, dried fruit, peanut butter, or other ingredients.
Peanut Butter
Peanut butter requires no refrigeration before opening and can be eaten without cooking. It also works with crackers, oatmeal, bread, and other foods.
Canned Foods
Canned vegetables, fruits, beans, meats, and prepared foods can provide important variety. Their disadvantage is that cans are relatively heavy and can consume considerable shelf space.
Dried Foods
Dried fruit, dehydrated ingredients, and other shelf-stable dried foods can provide useful options without taking up as much room as some bulky products.
The objective isn’t to find one perfect emergency food.
It’s to select ingredients that can be combined into multiple meals.
Avoid Wasting Valuable Space
When every shelf matters, be selective about what goes into your emergency supply.
Avoid filling limited storage with:
- Foods your household won’t eat
- Excessively bulky packaging
- Duplicate products
- Low-value items that provide little nutrition
- Large quantities of foods with only one possible use
Don’t buy something simply because it’s marketed as an “emergency food.”
Ask three questions first:
Will we eat it?
Can we use it in more than one meal?
Is the amount of storage space worth it?
If the answer is no, your limited storage space may be better used elsewhere.
Be cautious about removing food from its original packaging simply to save space. Labels can provide important information about ingredients, preparation, storage, and dates.
Make Better Use of Vertical Space
Once you’ve selected the foods you want, look for unused vertical space.
Shelf risers can create additional levels inside cabinets. Stackable containers can make better use of available height. Narrow shelving or rolling carts can also turn otherwise awkward spaces into useful storage.
Useful options include:
- Shelf risers
- Stackable bins
- Under-shelf baskets
- Door-mounted organizers
- Narrow rolling carts
- Tall shelving
Don’t overload shelves or place heavy containers where they could fall.
Food should also be stored in an appropriate environment—generally cool, dry, and protected from pests.
Build Your Supply One Shelf at a Time
You don’t need to buy everything at once.
A gradual approach is easier on your budget and prevents you from creating a storage problem.
Week 1: Choose Your Storage Area
Select one cabinet, shelf, or small storage zone.
Organize what you already have before buying anything.
Week 2: Add Staples
Add a few versatile foods such as rice, pasta, oats, beans, or other staples your household already uses.
Week 3: Add Meal Components
Add ingredients that turn those staples into meals.
Consider canned vegetables, sauces, shelf-stable proteins, seasonings, and other meal-building ingredients.
Week 4: Add No-Cook Foods
Include foods that can be eaten when electricity isn’t available or cooking isn’t practical.
Examples include:
- Peanut butter
- Crackers
- Nuts
- Dried fruit
- Ready-to-eat canned foods
- Shelf-stable bars
At the end of four weeks, you’ll have a useful starting supply without needing to buy a large quantity all at once.
Organize Your Small Emergency Pantry
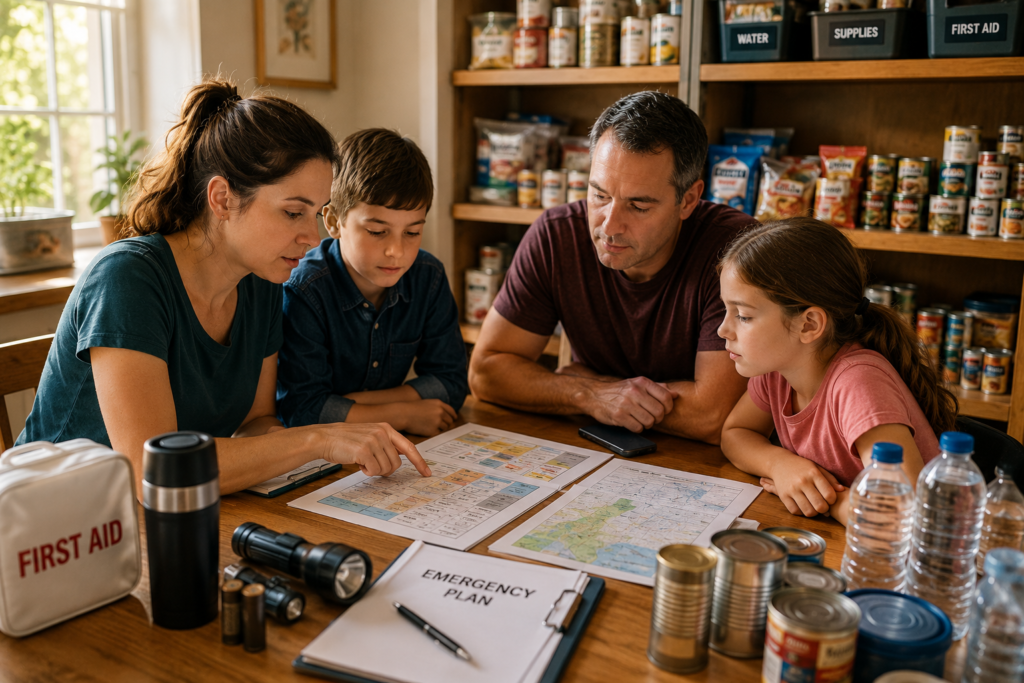
Once you have the food, make it easy to find and rotate.
A simple four-category system works well:
Everyday Foods
These are foods you regularly eat. Keeping them in your normal pantry makes rotation much easier.
Emergency-Only Foods
These are items reserved primarily for situations when normal shopping or cooking isn’t possible.
Meal Builders
These are ingredients that turn basic staples into complete meals.
Examples include sauces, seasonings, bouillon, canned vegetables, and shelf-stable proteins.
Emergency Supplies
Food isn’t the only thing you’ll need.
Keep essential items nearby, such as:
- Manual can opener
- Basic cooking utensils
- Food storage containers
- Water-storage supplies
- Appropriate cooking equipment
There’s little benefit to storing canned food if you discover during an outage that you can’t open the cans.
Don’t Forget Water Storage
Food is only part of an emergency supply. Water deserves its own storage plan.
The challenge is that water is heavy, so a small-space household needs to balance preparedness with the amount of storage available.
A commonly used emergency-planning guideline is to keep at least one gallon of water per person per day for drinking and sanitation, with a goal of having a multi-day supply when possible.
That can add up quickly.
For example, four people would need 4 gallons per day, so even a three-day supply would require 12 gallons.
If you have very limited space, don’t let the size of that number discourage you. Start with what you can reasonably store and build from there.
Where Can You Store Water?
Look for sturdy locations where containers can remain stable and won’t create a hazard if they leak.
Possible areas include:
- A utility closet
- The bottom of a pantry
- A sturdy closet floor
- Under appropriate shelving
- A dedicated storage cabinet
- A cool storage area
Avoid placing large water containers where their weight could damage shelves or where a leak could cause significant damage.
Water is heavy, so don’t assume a shelf designed for canned goods can safely hold multiple gallons.
Choose Practical Containers
Commercially packaged drinking water can be convenient, especially for smaller households or people with very limited storage.
Reusable water containers designed specifically for potable water can also be useful when stored and maintained according to the manufacturer’s instructions.
Avoid relying on random containers that weren’t designed for storing drinking water.
Think Beyond Drinking
Water may also be needed for:
- Food preparation
- Rehydrating dried foods
- Cleaning
- Basic hygiene
- Other household needs
This is particularly important if your emergency food supply contains foods that require significant amounts of water to prepare.
A compact supply of dry beans, rice, or dehydrated foods may look efficient on the shelf, but those foods become less useful if water is limited.
Make Water Part of Your Food Plan
When evaluating emergency foods, consider how much water each food requires.
A shelf-stable meal that can be eaten immediately may be more practical during a short-term emergency than a dry food that requires cooking and substantial water.
This doesn’t mean you should avoid dry foods.
It simply means food and water should be planned together.
Example: A Small-Space Emergency Pantry
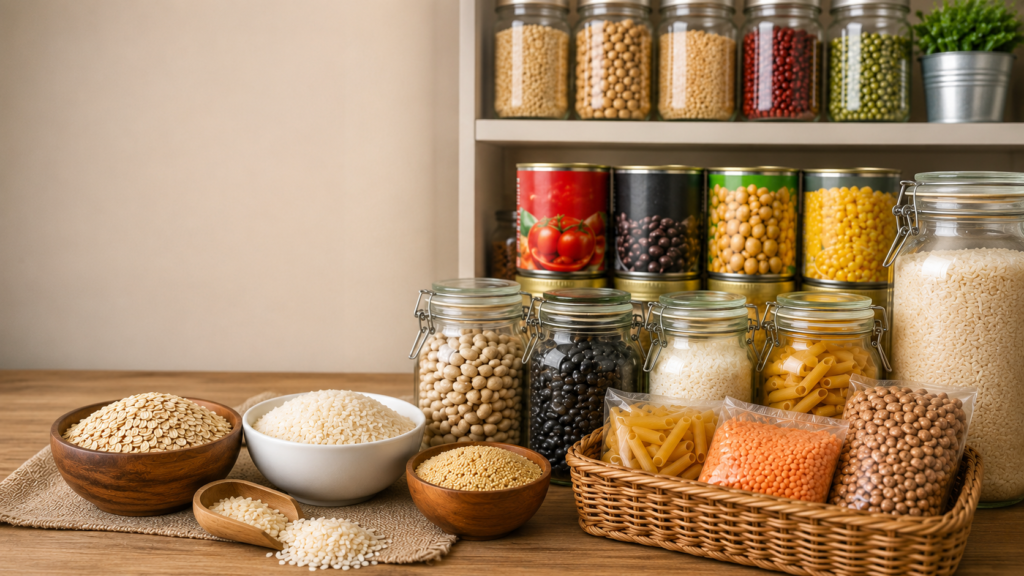
Suppose you live in a small apartment and have only one kitchen cabinet available for emergency food.
You could organize it like this:
Upper shelf:
Rice, pasta, oats, crackers, and other dry staples.
Middle shelf:
Canned beans, vegetables, fruit, and shelf-stable proteins.
Lower shelf:
Heavier cans and larger containers.
Small bin:
Seasonings, bouillon, sauces, and other meal-building ingredients.
Separate container:
Manual can opener and basic emergency supplies.
Water could be stored separately in a suitable location rather than taking up valuable food-storage space.
This isn’t a massive stockpile.
But it gives you ingredients that can be combined into several different meals and provides a useful backup when normal grocery shopping isn’t possible.
Use Your Normal Pantry to Rotate Emergency Food
One of the easiest ways to manage limited storage is to avoid creating two completely separate food systems.
Instead, incorporate your emergency foods into your normal pantry whenever practical.
Use a first-in, first-out system.
When you buy a new package of pasta, rice, canned vegetables, or another shelf-stable product, place the newer item behind the older one.
Use the older item first.
Then replace it during your next grocery trip.
This approach keeps your food moving instead of allowing emergency supplies to sit untouched for years.
It also lets you discover which foods your household actually likes before you need them during an emergency.
Think in Meals, Not Just Containers
Limited storage becomes much easier to manage when you stop thinking about how many individual packages you can fit on a shelf and start thinking about how many meals those foods can create.
For example, a package of rice becomes much more useful when you have ingredients to turn it into several different meals.
Rice + beans + seasonings can become one meal.
Rice + canned vegetables + shelf-stable protein can become another.
Pasta + sauce + canned vegetables creates another option.
Oats + peanut butter + dried fruit can provide breakfast.
This approach allows a relatively small collection of ingredients to provide much more variety than a cabinet filled with single-purpose foods.
Recommended Resource: The Lost Super Foods
If you’re building a long-term emergency food supply, it’s worth learning about the foods our grandparents and earlier generations relied on before modern refrigeration and grocery stores became common.
The Lost Super Foods is a guide that explores forgotten preservation methods, shelf-stable foods, and traditional survival recipes that helped families thrive during difficult times. The guide includes practical information on food storage, preservation techniques, and nutrient-dense foods that can complement a well-stocked emergency pantry.
Whether you’re just starting your preparedness journey or looking to expand your food storage knowledge, this resource may provide valuable insights for creating a more resilient pantry.
👉 Click here to learn more about The Lost Super Foods.
Don’t Let Limited Space Stop You
You don’t need a basement full of food to become better prepared.
If space is limited, start with one shelf or cabinet.
Choose foods your household already eats. Focus on versatile ingredients that can be combined into multiple meals. Include several foods that require little or no cooking, and rotate everything through your normal pantry whenever possible.
At the same time, build a realistic water supply and remember that the foods you store may require water to prepare.
Then expand gradually as space and budget allow.
The goal isn’t to build the biggest emergency food supply.
It’s to build a useful supply that fits your home, your budget, and the way your household actually eats.
Start with one shelf today. You may be surprised by how much preparedness you can create without needing more space.