
Introduction
An emergency pantry can contain plenty of food and still be poorly organized. When cans are hidden behind boxes, expiration dates are overlooked, and you aren’t sure what you have, your food supply becomes much harder to manage. Good organization isn’t about making your pantry look perfect. It’s about making sure your family can quickly find, use, rotate, and replace the foods you have stored.
In this article, we’ll look at 12 important areas to check when organizing your emergency pantry. You’ll learn how to check your food categories, expiration dates, containers, labels, inventory, storage conditions, meal ingredients, and more. We’ll also look at how a few simple organizational habits can reduce waste, control grocery spending, and make your emergency food supply much more useful when you actually need it.
Affiliate Disclosure: This post may contain affiliate links. I may earn a commission at no extra cost to you.
FREE Checklist: 10 Survival Foods That Can Last For Years
Get Your FREE Survival Foods Checklist Here
1. Check What You Actually Have

Before buying more emergency food, take a good look at what is already in your pantry.
It is easy to remember the foods you recently purchased while forgetting items pushed toward the back of a shelf. You may think you need more canned vegetables, only to discover that you already have several cases stored elsewhere.
Start by taking everything into account.
Look at pantry shelves, cabinets, basement storage, closets, and other locations where food may have been placed.
You don’t need to count every item immediately. First, get a realistic picture of your total supply.
A Quick Example
One family assumed it needed to buy more canned soup because the pantry shelf looked nearly empty. While reorganizing, they discovered two boxes of soup stored on another shelf and several cans behind other foods.
They didn’t need to buy more soup. They needed a better system.
2. Check Your Food Categories
An emergency pantry should contain more than one type of food.
Look at whether your supply includes a reasonable variety of:
- Grains
- Beans and legumes
- Canned vegetables
- Canned fruits
- Meat and protein
- Cooking ingredients
- Breakfast foods
- Snacks
- Ready-to-eat foods
- Beverages
- Foods your family regularly enjoys
The goal isn’t to have equal amounts of everything.
Instead, identify obvious gaps.
You may have plenty of rice and pasta but very little protein. Or perhaps you have canned meat but few vegetables.
Organizing your pantry gives you the opportunity to see those gaps before they become problems.
3. Check Expiration and Best-By Dates
Dates deserve special attention when you’re organizing an emergency pantry.
Rather than looking only for food that has already passed its date, identify products that should be used relatively soon.
Move older foods toward the front and newer foods toward the back.
This is the basic first-in, first-out system.
It encourages you to use older products before newer purchases.
Keep in mind that date labels can have different meanings depending on the product and manufacturer. A date printed on packaging isn’t automatically a simple statement that food becomes unsafe the next day.
However, dates are still useful organizational tools.
They help you keep track of your inventory and decide what should be used first.
4. Check Your Storage Containers
Not every emergency food should remain in the original package indefinitely.
Inspect foods that you’ve transferred into buckets, jars, containers, or other storage systems.
Check that containers are:
- Clean
- Dry
- Properly sealed
- Clearly labeled
- Appropriate for the food being stored
Pay particular attention to foods vulnerable to moisture, insects, or other storage problems.
If a container is damaged, cracked, leaking, or difficult to seal, deal with the problem rather than putting it back on the shelf.
A Quick Example
A homeowner found that several dry-food containers had faded labels. The food itself was fine, but nobody could immediately tell what was inside or when it had been stored.
A few new labels solved the problem.
The lesson was simple: food storage isn’t complete until you can identify what you’ve stored.
5. Check Your Labels
Labels are especially important for foods that aren’t immediately recognizable.
A good label might include:
Food: White rice
Stored: August 2026
For homemade mixes or repackaged foods, you can add preparation instructions when useful.
Clear labels prevent unnecessary opening of containers and make inventory checks much easier.
If you use opaque storage containers, labeling becomes even more important.
You shouldn’t have to open several containers just to find one ingredient.
6. Check Your Inventory
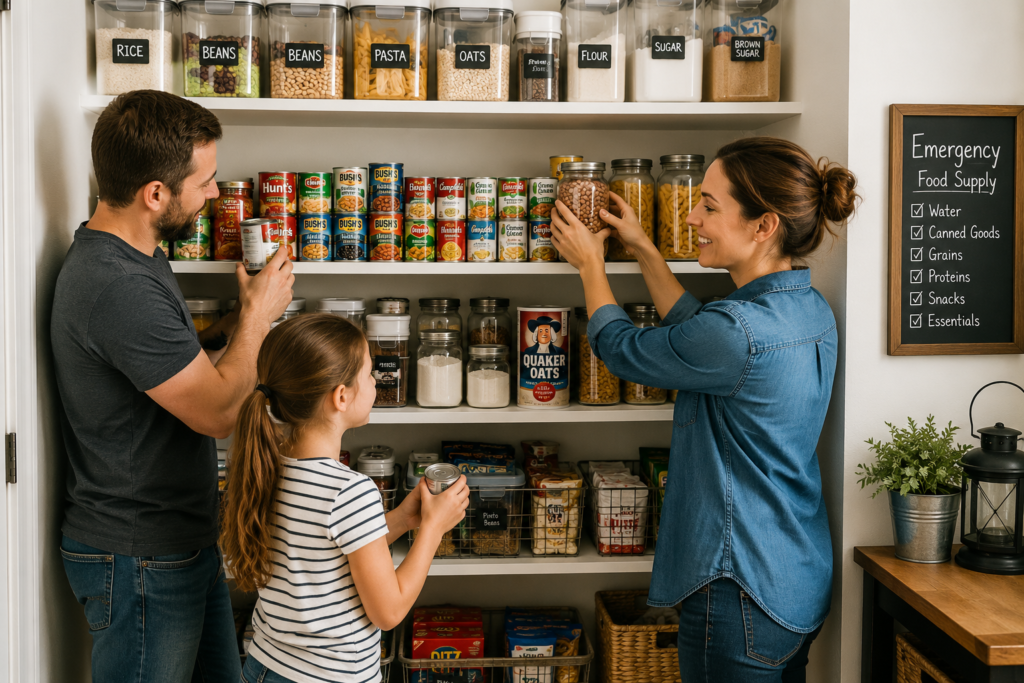
An inventory tells you what your pantry contains without requiring you to search every shelf.
It can be as simple as:
| Category | Amount |
|---|---|
| Rice | 15 lbs |
| Pasta | 10 boxes |
| Canned vegetables | 24 cans |
| Canned meat | 12 cans |
| Beans | 10 lbs |
| Oats | 5 lbs |
You can keep the list on paper, in a notebook, or digitally.
Don’t make the system so complicated that you won’t maintain it.
The inventory only needs to answer one question:
What do I have right now?
7. Check for Foods That Can Actually Become Meals
A pantry full of individual ingredients isn’t necessarily a complete food supply.
Look at what your stored foods can become.
For example, rice is useful. Beans are useful. Canned tomatoes are useful.
But together, they can become part of a meal.
Try grouping foods mentally—or physically—according to meals your family would actually eat.
You might have ingredients for:
- Rice and beans
- Pasta with tomato sauce
- Vegetable soup
- Chili
- Oatmeal
- Tuna and pasta
- Pancakes
- Rice with canned vegetables and meat
This exercise can reveal missing ingredients.
A Quick Example
A family had plenty of pasta but almost no pasta sauce. They also had canned tomatoes but hadn’t considered using them as part of their meal planning.
Once they started organizing foods by possible meals, they realized they needed a few additional ingredients rather than simply buying more pasta.
That’s a much more useful way to build a pantry.
8. Check Your Ready-to-Eat Foods
Not every emergency situation will give you the time, energy, water, or cooking ability needed to prepare a complicated meal.
That’s why ready-to-eat foods deserve their own place in your pantry.
Depending on your household’s needs, these might include:
- Canned meats
- Canned beans
- Canned fruits
- Canned vegetables
- Peanut butter
- Crackers
- Shelf-stable milk
- Granola bars
- Other foods that require little or no preparation
These foods can be particularly valuable during the first hours or days of an unexpected situation.
You don’t necessarily need a huge supply.
Just make sure your pantry isn’t composed entirely of foods that require cooking.
9. Check Your Water and Cooking Needs
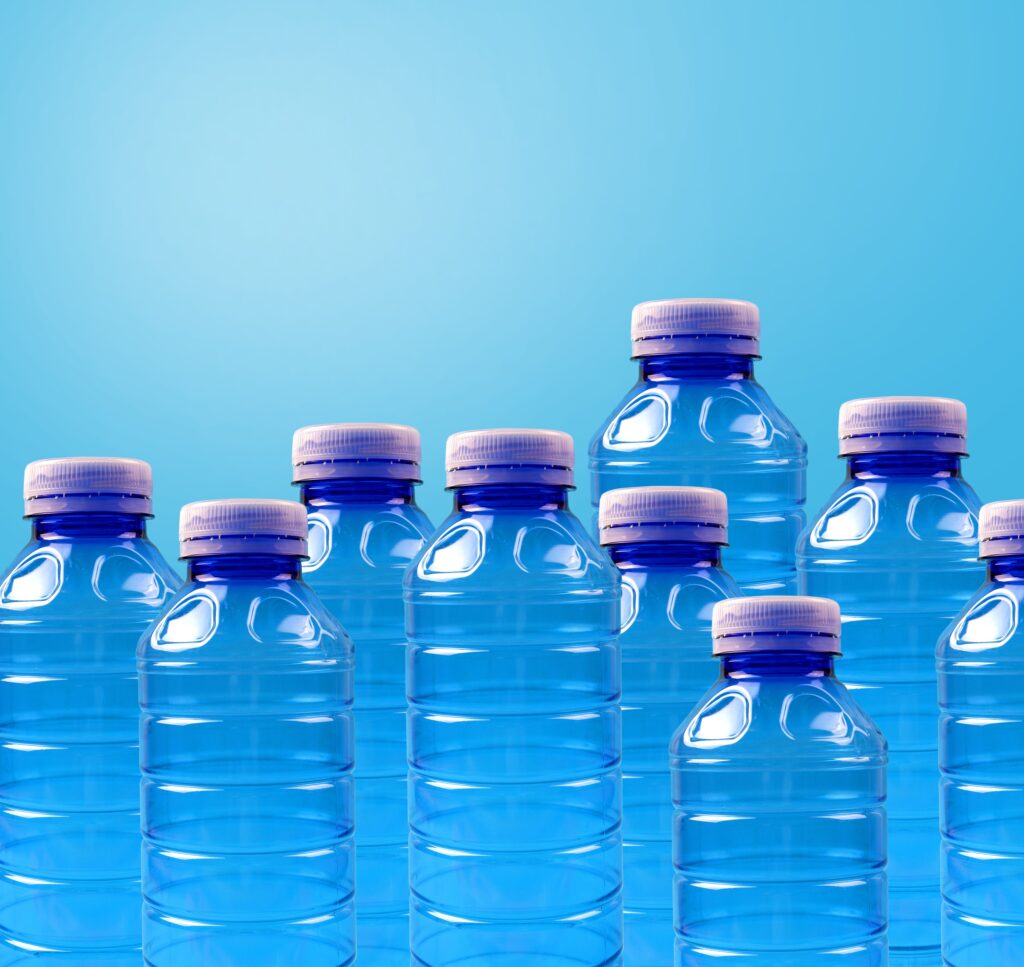
Food is only part of emergency preparation.
Consider whether the foods you’ve stored require water, cooking, heating, or special equipment.
Rice and dried beans can be excellent pantry staples, but they require preparation.
Ready-to-eat canned foods require much less.
Look at your emergency pantry as a combination of foods with different preparation requirements.
If you have a large supply of dry foods, make sure your broader emergency plan accounts for the water and cooking resources needed to use them.
10. Check Your Storage Environment
Where you store your emergency food matters.
Look for an area that is suitable for food storage and protected from excessive heat, moisture, and other conditions that can reduce food quality.
Avoid placing food directly on a damp floor.
Keep the area clean and inspect it periodically for signs of pests or moisture.
Also consider accessibility.
If your emergency food is buried behind household items, you may technically have a stockpile—but it won’t be very convenient to use.
A pantry should be organized so that you can reach what you need.
11. Check for Duplicates and Missing Foods
Organization can reveal both excesses and shortages.
You may discover that you have:
- Five types of pasta but little protein
- Plenty of canned corn but few other vegetables
- Several containers of rice but no cooking oil
- Lots of breakfast foods but few dinner ingredients
This is where organization becomes a purchasing tool.
Instead of shopping based on what catches your attention at the store, shop based on what your pantry actually needs.
A Quick Example
A shopper noticed that she repeatedly purchased canned beans because they were inexpensive and easy to store.
During a pantry inventory, she discovered she had far more beans than her family could reasonably use in the near future.
She stopped buying more beans and concentrated on filling other gaps.
The result was a more balanced pantry without necessarily spending more money.
12. Check Your Rotation System
Finally, ask yourself whether your pantry is designed to keep moving.
Emergency food shouldn’t simply sit untouched for years.
Whenever practical, use stored foods as part of normal meals and replace what you consume.
For example, if you have 20 cans of vegetables, use some during regular meals and replace them during your normal grocery trips.
This creates a rotating food supply.
It also means you’re familiar with the foods you’ve stored.
Your family won’t have to discover during an emergency that nobody actually likes a particular product.
Organizing Your Pantry Doesn’t Have to Take All Day
Looking at 12 areas might make pantry organization sound like a major project.
It doesn’t have to be.
You can divide the job into small sections.
Today, check expiration dates.
Tomorrow, organize canned goods.
Another day, inventory dry foods.
The goal is progress rather than perfection.
Even reorganizing one shelf can make your pantry easier to use.
Over time, those small improvements can produce a much more manageable food-storage system.
Don’t Forget the Freezer

Your emergency food system shouldn’t stop at the pantry.
Your freezer can provide another important source of food, including meat, vegetables, bread, prepared meals, and other foods your family regularly uses.
But freezer storage has one major limitation: it depends on electricity.
For that reason, freezer foods should complement your shelf-stable emergency pantry rather than replace it.
A balanced household food supply can include both.
Your pantry provides foods that can remain available without refrigeration, while your freezer provides additional variety and everyday convenience.
The Goal Is a Pantry You Can Use
The purpose of emergency pantry organization isn’t to create a picture-perfect storage room.
It’s to make your food supply useful.
You should be able to answer questions such as:
What do I have?
What needs to be used first?
What meals can I make?
What am I running low on?
Where is a particular food located?
If you can answer those questions quickly, your pantry is doing its job.
Preparedness isn’t just about how much food you own. It’s also about how effectively you can manage and use it.
FREE 25 Foods Emergency Pantry Checklist
Building an emergency pantry is easier when you have a shopping list to follow.
Download this free printable checklist to take with you while shopping or use it to organize your pantry.
✔ 25 shelf-stable foods
✔ Printable PDF
✔ Free to download
👉 Download Your FREE 25 Foods Emergency Pantry Checklist Here
Conclusion
An organized emergency pantry gives you more control over the food you’ve already purchased. By checking your inventory, categories, dates, containers, labels, meal ingredients, ready-to-eat foods, storage conditions, and rotation system, you can identify problems before they become frustrating or expensive.
You don’t need a huge pantry or an expensive organization system. You need a system that makes sense for your household and that you can maintain over time.
The most useful emergency food supply is one you understand, regularly rotate, and know how to use.
Your next step: Choose one pantry shelf tonight and organize it from front to back—put older foods in front, newer foods behind them, and label anything that isn’t immediately identifiable.
Recommended Resource: The Lost Super Foods
If you’re building a long-term emergency food supply, it’s worth learning about the foods our grandparents and earlier generations relied on before modern refrigeration and grocery stores became common.
The Lost Super Foods guide explores forgotten preservation methods, shelf-stable foods, and traditional survival recipes that helped families thrive during difficult times. The guide includes practical information on food storage, preservation techniques, and nutrient-dense foods that can complement a well-stocked emergency pantry.
Whether you’re just starting your preparedness journey or looking to expand your food storage knowledge, this resource may provide valuable insights for creating a more resilient pantry.
👉 Click here to learn more about The Lost Super Foods.
Related Articles